BME100 f2017:Group10 W0800 L5
| Home People Lab Write-Up 1 | Lab Write-Up 2 | Lab Write-Up 3 Lab Write-Up 4 | Lab Write-Up 5 | Lab Write-Up 6 Course Logistics For Instructors Photos Wiki Editing Help | ||||||
|
OUR TEAM
LAB 5 WRITE-UPPCR Reaction ReportFirst, make sure that your group has all the materials listed in the protocol, cut empty PCR tubes in half so you’ll have two strips of four linked tubes. Then, the sides of the empty tubes should be labeled with the Tube Labels that your group created, and after this done place the tubes on the rack. Later, 50 microliters of PCR mix should be transferred to the empty tube labeled as the positive control. When done discard the disposable tip. Next, a new pipette tip will be used to transfer the positive control DNA/primer mix into the same tube (make sure the total volume in your positive control PCR is 100 microliters). Repeat steps from transferring the 50 microliters of PCR mix to transferring the DNA/primer mix for your negative control, patient 1 replicates 1, 2 and 3, and patient 2 replicates 1, 2 and 3. The appropriate DNA/primer mix should be used for each corresponding tube. When done the previous steps, close the lids tightly of each PCR reaction tube and take them to your group assigned PCR machine and place them into the slots of the heating block. Fluorimeter ProcedureImaging set-up Before doing anything, the contents of the rack provided by the instructor must be verified to make sure that everything is there: 8 tubes marked with red dots (contain 500 microliters of buffer), 5 tubes labeled 0.25, 0.1, 1, 2 and 5 (these contain double stranded Calf Thymus DNA), 2 tubes labeled with a blue “S” (these contain 1 mL of SYBR Green 1 solution), and one tube labeled H2O (contains 1 mL at pH = 8). A 160 microliter drop of water will be placed in the middle of the first two rows of the slide using the pipettor until the drop looks like a beach ball. The excitation light should be turned on using the switch for the Blue led. Turn on the camera of the smartphone and adjust the settings, as mentioned above. Then, place it on the cradle at an angle where it can be taken a picture of the drop sideways. Make sure that the camera is as close as possible without making the image look blurry (it should be at least 4 cm of distance). Subsequently, record the distance between the camera and the drop and try not to move much the camera, fluorimeter, or cradle since this will mean a difference in light from one image to the other. Again, like in the second step, you will place a substance in the middle of the first two rows of the slide so that the drop is pinned and looks like a beach ball, but this time the substance will be SYBR Green I and only 80 microliters of it. Then, add to it 80 microliters of one of the calf thymus so you can have your sample ready. Next, the drop should be aligned by moving the slide so that the blue LED light is focused by the drop to the middle of the black fiber optic fitting on the other side of the drop. For a better resolution of image, set the timer of your camera so you have time to close the box and get a good quality picture. Repeat two more pictures for a total of 3 for the sample. After this done, remove the box and be careful of not moving your smartphone. Use the pipettor to remove the 160 microliter drop from the surface and move the slide to the next position. Repeat steps from the placement of the SYBR Green I drop until using the pipettor for removing the 160 microliter drop for each other concentration of Calf Thymus DNA.
Placing Samples onto the Fluorimeter
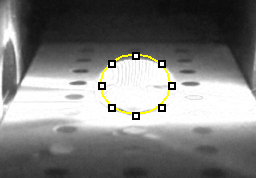
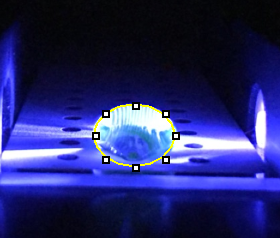
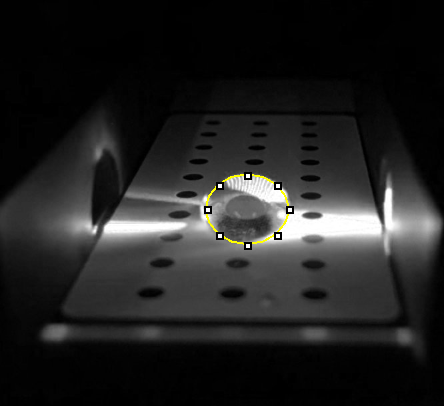
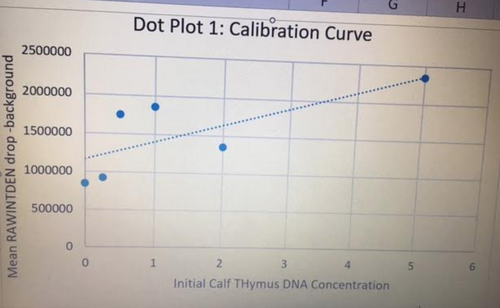
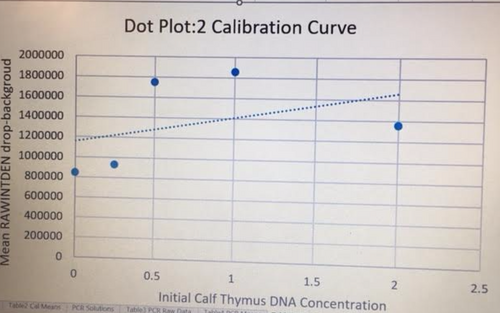
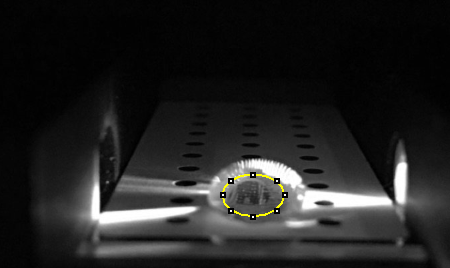
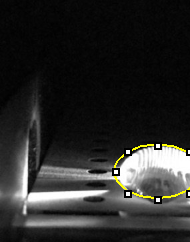
Data Collection and AnalysisImages of High, Low, and Zero Calf Thymus DNA 5 μg/mL sample 0.5 μg/mL sample 0 μg/mL sample Calibrator Mean Values Calibration curves
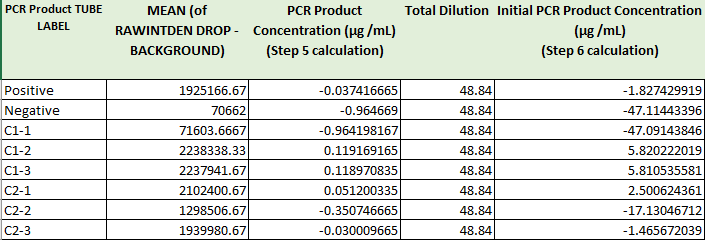
Negative PCR Results: PCR concentrations solved
| ||||||


