User:Andy Maloney/Notebook/Lab Notebook of Andy Maloney/2010/07/26/Microscope repair
Intro & Disclaimer
I need to post this for multiple reasons. The first being that I've already burned myself for not writing in my notebook about something I deemed too silly to write about. And, second, because everyone no one should know how to take apart their microscope and put it back together again.
- First, this may void your warranty. So don't do it.
- Second, you may ruin your optics. So don't do it.
- Third, you may ruin vital components that are very expensive to replace. So don't do it.
- Fourth, if you are not confident in what you are doing, you will break your microscope. So don't do it.
- Fifth, just don't do it. Unless you really need to clean your microscope or fix it. If that's the case, call in a technician.
Under no circumstance am I telling you it's okay to do this. Nor am I implying that what I had to do to fix my microscope is what you should do either. If you do take apart your equipment, you do so with no warranty from me and at your own risk of injury to yourself and your equipment.
In fact, you shouldn't read any further and you should just call a technician to come and fix/clean your microscope. These are my notes and you shouldn't use them.
The problem
When diverting the light path from the eyepiece to the camera, you use a knob on the microscope that moves optics. This knob broke 3 times on my microscope in 3 different places. Each time it broke, it cemented my belief that you should build your own microscope and just use the killer objectives from the microscope companies. That way when something breaks, You know how to fix it easily.
Tear down
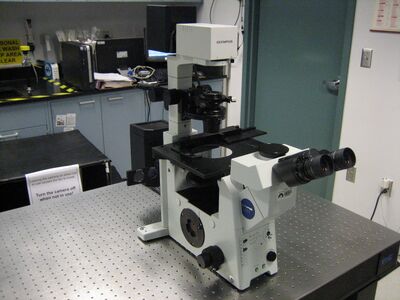
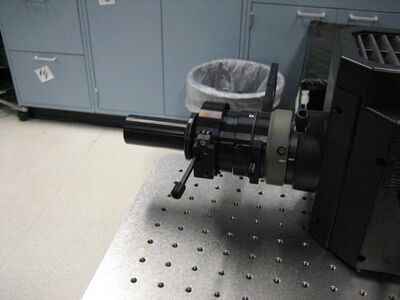
We do not have a camera attached to the microscope. We placed the camera on a 3 axis stage mounted on the table in order to reduce vibrations on the microscope. It's not necessary but it sure does make life a heck of a lot easier to position the camera in the center of the field apertures. I'd recommend it to everyone as it reduces the area you have to illuminate and thus reduces photobleaching of the sample. So why is it then that the field aperture isn't centered on the camera already? Well, there is not enough degrees of freedom to center the Hg lamp aperture on the camera due to how the lamp mounts on the microscope. So even if an engineer was able to center it in the factory, you're going to have to replace that Hg bulb at some point in time and you'll never get it in the same place again. Plus, it is super easy to place the camera focal plane at the eyepiece focal plane with a stage.
Hg Lamp Removal
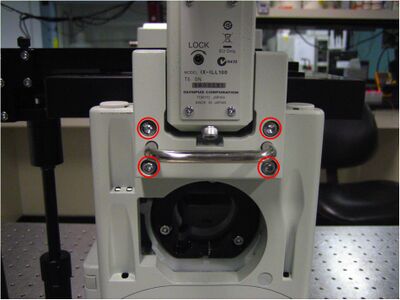
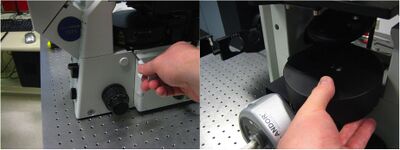
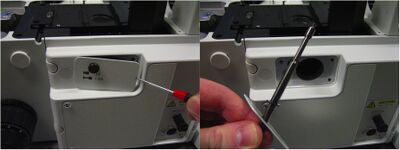
The first thing I did is take out the aperture lever. This just screws out of it's housing. I made sure I unplugged everything as well.
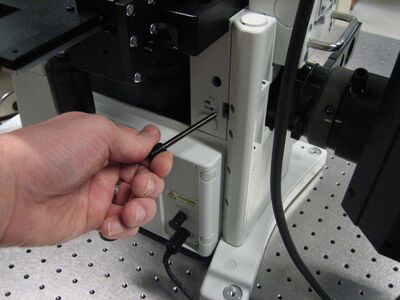
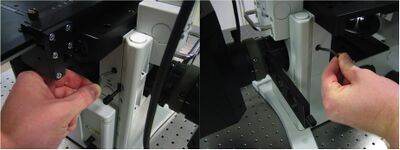
Using the supplied hex wrench, I loosened the 2 set screws on the left and right of the microscope. I don't know what the set screw sizes are but I do know that the hex wrench is 4mm.
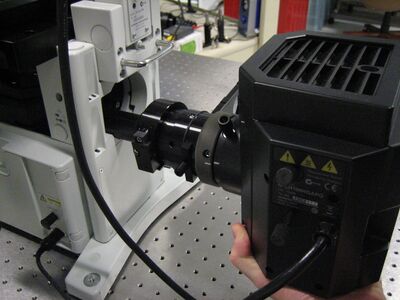
Once I loosened the screws, I carefully removed the lamp and set it aside for safe keeping.
I also returned the aperture lever back to the lamp housing in order to not misplace it.
Condenser Arm Removal
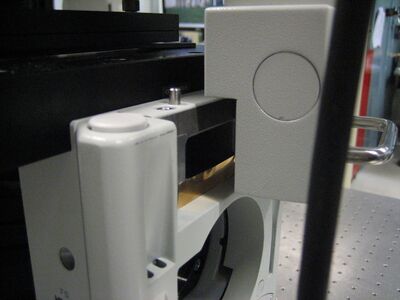
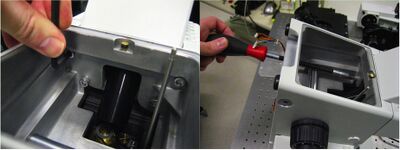
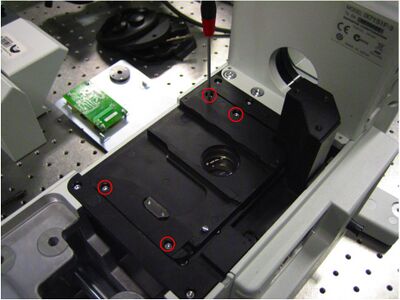
The next step I did was to remove the condenser arm. There are 4 M5 screws that I had to remove.
Once the screws are removed, I took off the condenser arm and placed it in a safe place. In the picture you will notice that there are some brass shims. I had to put those in there because when mounted, the condenser arm was not level.
Sample Plane Removal
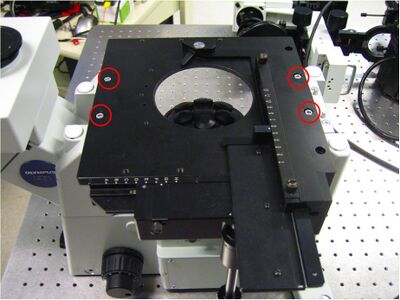
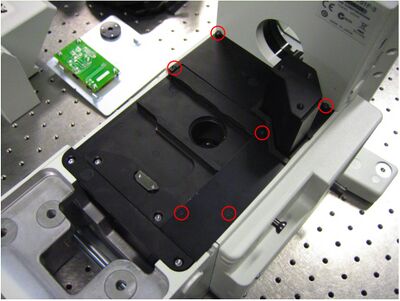
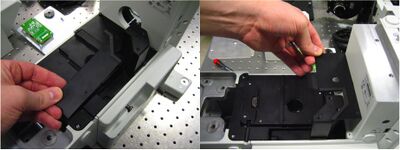
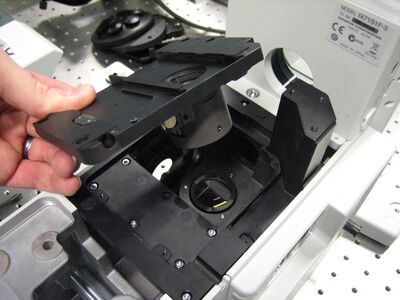
The next step, I took off the sample plane. I'm not sure what the technical term for it is. It's just 4 M5 screws.
Filter Turret Removal
I removed the filter turret using the supplied M3 hex wrench.
Objective Turret Removal
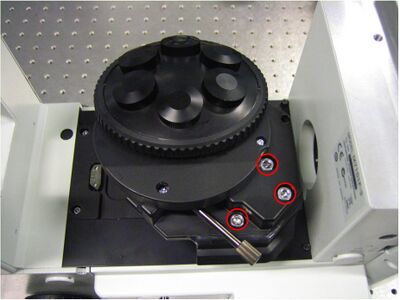
I then removed the objective turret. There are 3 M5 screws that I loosened and made sure to keep them in the turret so as to not loose them.
Eyepiece Removal
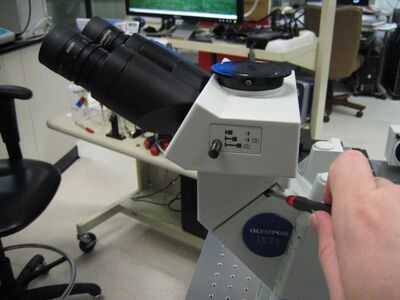
To take this piece off, I had to remove a few extra parts in order to get it completely off. The first thing I did was take the trinocular off.
In order to get the rest of this piece off, I had to take off the front plate. In doing so, I finally am able to see where the knob broke in the microscope for the first time. The second time it broke was irritating and the third time was just humorous.
Front Plate Removal
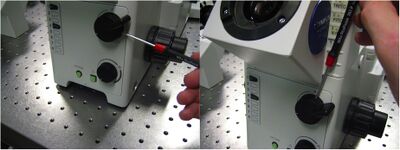
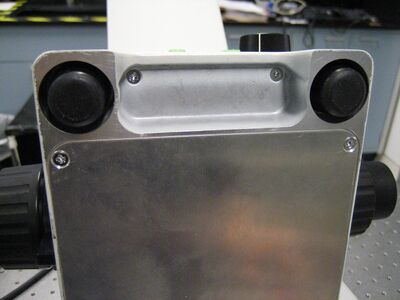
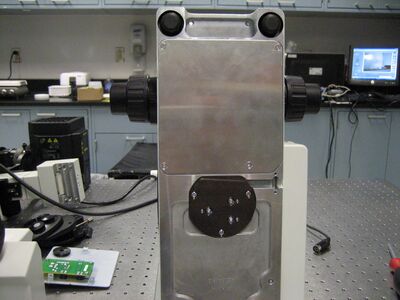
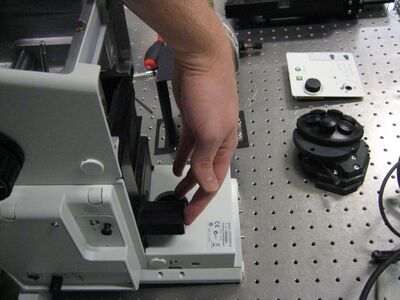
The first step is to remove the actual knob from the microscope. In this picture, the knob is still attached to the microscope. When it broke, the knob plus a long metal post came out of the microscope.
Once the knob is no longer attached, I flipped the microscope on its back to gain access to the two screws holding the front panel in place.
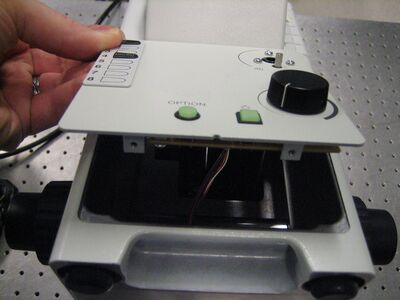
I find it best to use a PH2 to get the Phillips head screws off. I'm not sure what thread these guys are so I made sure not to loose any of them. Once the two screws were removed, I could now take off the front plate.
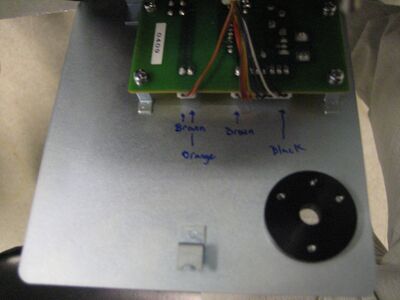
The plate has some circuitry attached to it. I made sure to write down the orientation of the wires before I took them out. I think the connector they are on is keyed but I didn't want to take any chances.
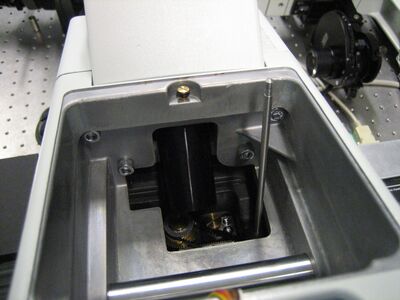
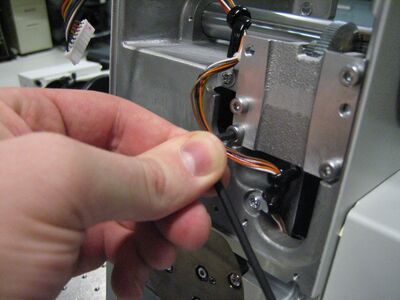
With the front plate removed, I could see now where the screws were that kept the rest of the eyepiece attached to the microscope. You can also see clearly in this picture the metal post that attaches to the knob I took off earlier.
Bottom Plate Removal
To get at these screws, I had to remove the bottom plate of the microscope.
I first used a 5mm hex wrench to loosen the M6 screws and then used my super awesome flexible 1/4" bit screwdriver to get the screws out completely.
Magnifier Removal
The next part I removed, although in hindsight was unnecessary to get at the broken part, is what I'm calling the magnifier. I call it this since I can slide out a lever that moves an optic in and out of the light path that compound magnifies my image by 1.6X. At any rate, I took out 6 screws. 4 require a PH000 screwdriver and the other 2 require (I believe) a 2mm Hex.
Taking off such tiny screws is unwise to do on an optic table.
Once these plates were off, I had access to 4 screw that held in place the magnifier housing.
To get the magnifier totally out, I had to unscrew the lever that moves the magnifying element in and out of the light path. This proved difficult since it was in there pretty tight but, it eventually came out.
Once the lever is out, I was able to lift the magnifier out with ease.
The thing that broke
So what kept breaking on me was an adapter piece. This adapter mated the metal post that was connected to the knob on the front to a gear. To reach the piece, I had to remove the gearbox. The first time I took apart the microscope, I didn't take the gearbox out because I was afraid I was going to break it. This caused a tremendous amount of pain for myself since I was not able to reach the adapter piece that broke. At least not very easily. I spent a week working around the gearbox trying to reach the set screws on the adapter piece which eventually lead to the piece breaking in half due to excessive movement on my part. This is a lesson I've learned multiple times. If you see that it's screwed in, it's more than likely supposed to come out without much pain. As opposed to when something is glued in place.
To take the gearbox out, I just loosened the 4 screws holding it in place.
I will have to say that when I went to put the gearbox back in the rebuild, I had to hold down the focusing platform while I screwed in the gearbox. When I didn't do this, I noticed that the focusing knobs did not have their full range of motion.
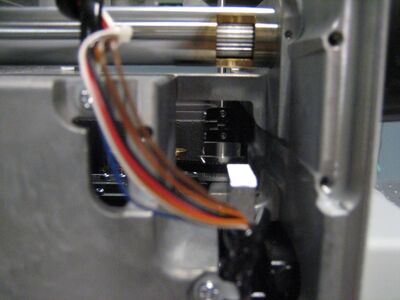
Once the gearbox was removed, I was now able to see the part that broke on me.
There are 4 set screws on this adapter, it's the black thing deep in the microscope. The top 2 hold the post that is connected to the light path diverter knob on the outside of the microscope. The bottom 2 hold the adapter and post to a gear that moves the optics. The first time this broke, the top 2 set screws came loose. The second time, the bottom 2 came loose. The third time, the adapter broke in half and I had to glue it together. To get to the set screws, I just approached them from the bottom of the microscope. I then moved the gears so that I could reach the other set screws. I believe I used a 1.5mm hex screwdriver for the set screws.
I can imagine that this piece will break for a great deal many people. If it does, call the technician to come fix it!
Complete tear down
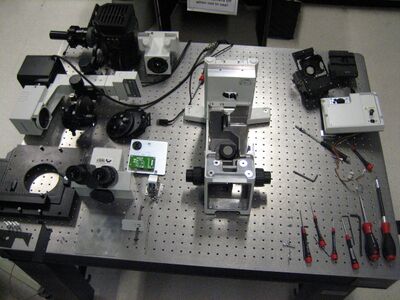
After having to glue the adapter piece and having to tear down this thing a third time, I decided to take it down almost all the way. So I kept taking pieces off until the glue set. Here's what it looked like.
There were more pieces I could have taken apart but, at this point, I was fed up with the contraption and decided to call it quits. I did like seeing all my tools getting a nice workout.
Final word
Don't do this!
