User:Anthony Salvagno/Notebook/Research/2009/08/08/The Making of Science Images
Larry is going to present a poster next Fri and I think it would be kinda cool to provide a walk through of how I make images for posters and talks.
Inspiration
The picture I am going to make is based on an experiment that we are going to do (and have successfully done once). It is going to be a side profile of an upside-down kinesin molecule motoring along a microtubule. These are motility assays and from our perspective we can see the microtubule moving around in the microscope's field of view. This is because all the kinesin (which are the molecular motors) is held fixed onto a cover slide.
So what do I need to draw?
- Kinesin
- microtubule
- cover slide
- extra stuff maybe (like what is holding the kinesin upright)
I would like to do some high detail stuff, while still retaining some creativity and fun. A google search of several different components is pretty helpful for both inspiration and for a model since I can't ask kinesin to sit still for me.
For the kinesin I am using this image. I like how it resembles it's molecular properties, but it's use of color can easily illustrate what the different components are. This image is what I'm going for and I think I have the most play in terms of creativity. As far as the microtubules go, I will just organize circles into a cylindrical shape and color it so that it looks cylindrical. Ok here we go...
Creationism
First I will make the cover glass. Initially I draw everything out and then color everything once I get a good look at how everything will be. The cover glass will just be a rectangle.
The outer lines you see are the boundaries of my page. Next I will make the kinesin. I will start with the feet by making two blobular structures:
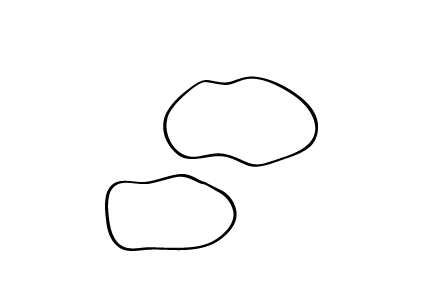
One foot is smaller than the other to give the appearance of depth, because one foot will be in front of the other, sort of. Now to make the neck linker, I will make a longer blobular and then copy it:
And finally the coiled-coil. I started with a long slender rectangle to provide the frame and size. I then made each segment of the coil and copied it several times and linked them together so you get this:
I just need to combine everything and rotate it to give the overall shape.
Next I add some details and color. To make it look like a 3D object I just draw random shapes and shade them either brighter (for lit areas) or darker (for shadows). Next I made the microtubule. Basically I just made a circle and colored it. Then I used some nifty Illustrator techniques to make hundreds of copies of that circle and shape it into a cylinder. Here is the finished version:
Well that is about it. That is my workflow in a nutshell. I'll have to do this again sometime.


